DIY - Chic Bar Cart
— pictorial, diy project — 1 min read
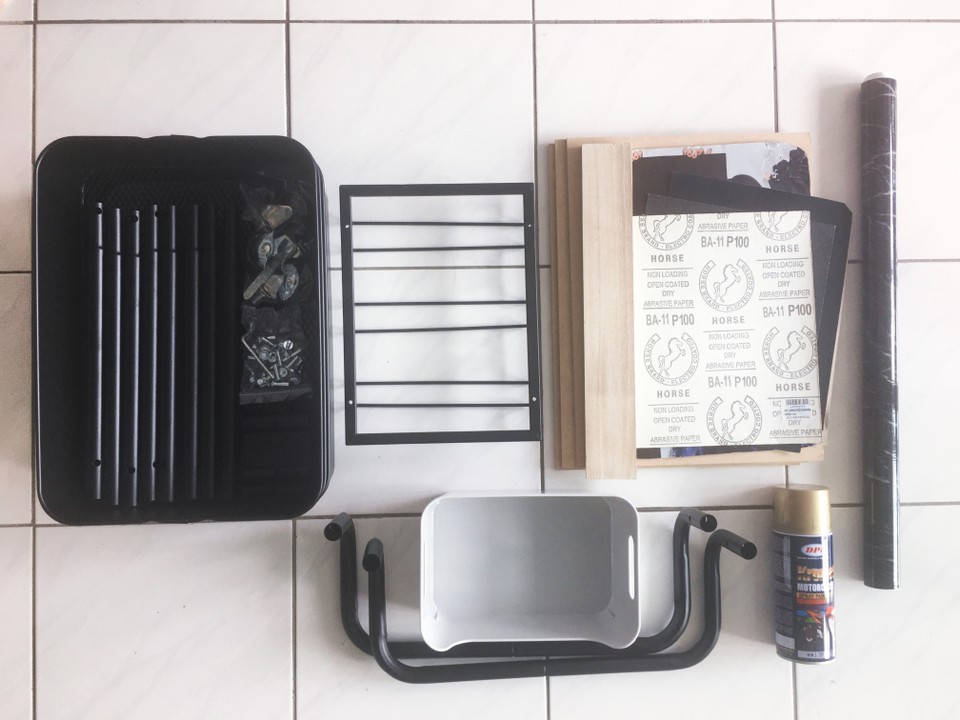
I got bored, and decided to take on a more involved project. It's pretty straightforward, actually, so I'm not posting the tutorial. Just the materials I used to make this work for me.
Items/Materials purchased:
- IKEA Ruskog (3-tier)
- Contact paper - marble
- Copper gold spray paint
- Stemmed glass rack
- Nuts & bolts
- 3x MDF boards (300x600mm)
- Zip ties
Tools/Materials at hand:
- Jigsaw
- Sandpaper
- Masking tape

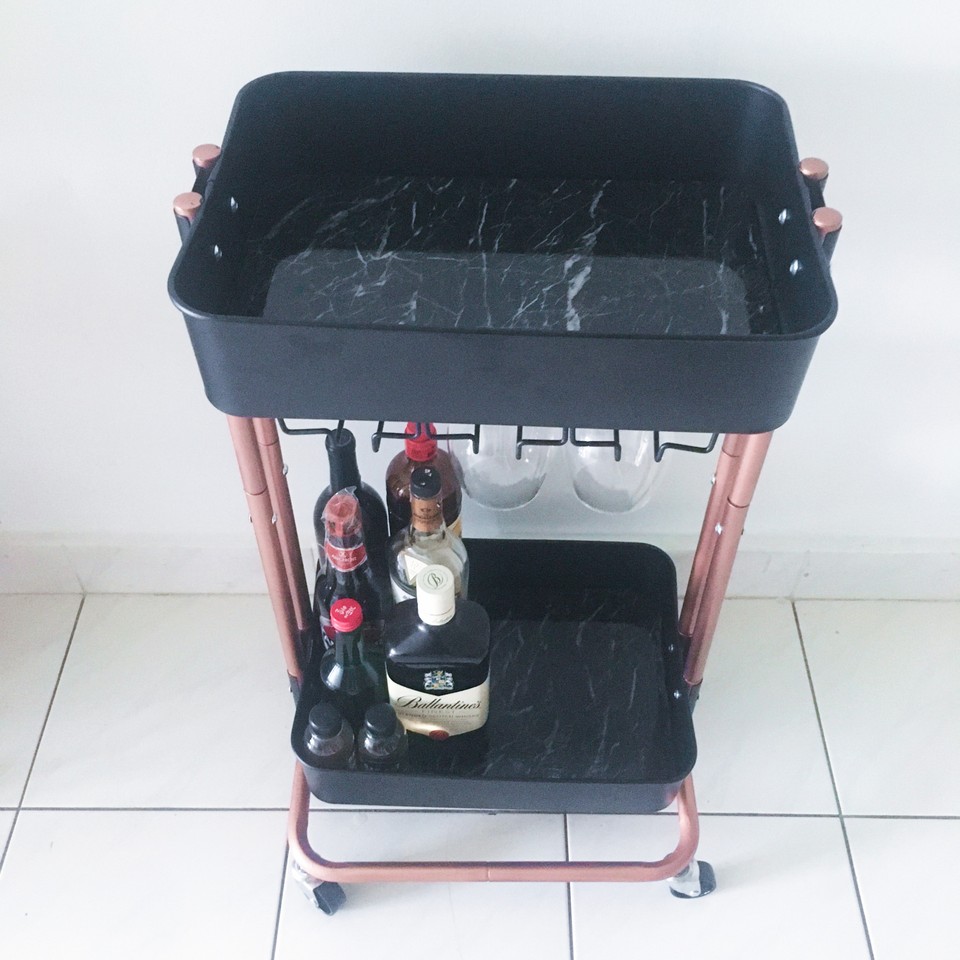
The finished product:

It looks really good, doesn't it? I love it. I wish the cart was taller, so I can actually have a 3rd layer, but I don't mind this at all.
The top rack is going to be used for serving trays, ice buckets, and whatever it is that's needed in the moment. The bottom will be for storing the alcohol. It's helped me save space in the fridge, especially for beer. I haven't drank much since the start of my weight loss project.
I used the free rack as an organizer for my other alcoholic things. It's sturdy and the aesthetic fits.